Do you intend how to mount a ceiling projector? You are moving on up in the world, and you have got yourself a projector.
Firstly, Congratulations!
The next step you surely intend to do is mounting your projector to the ceiling. So, I’ll show you how to mount on the ceiling with clever positioning.
Wait for the sun to go down! Now, watch your favorite things on a big screen.
Table of Contents
Things to Consider How to Mount a Ceiling Projector

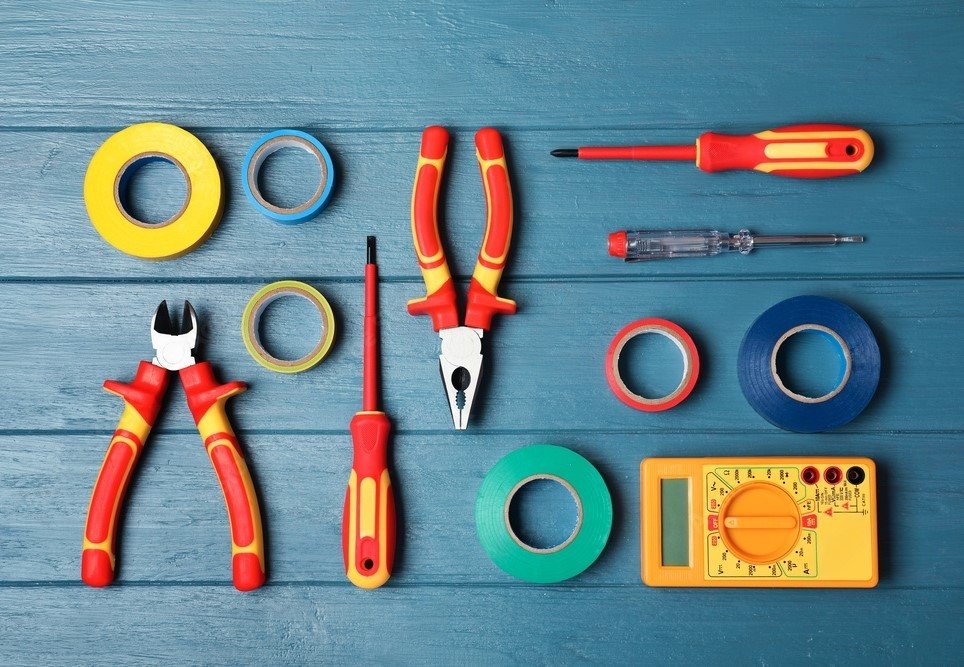
- The Ladder
- A Projector
- Drilling device
- Mounting Kit
- Screwdriver
- Wrench
- Measurement tape
- Other things depend on your projector
5 Steps on How to Mount Your Projector to the Ceiling
Nowadays, larger screen projectors are becoming more common in people’s homes. You must think about where to put your projector once you’ve chosen.
There are multiple methods to set up a projector, and it all depends on your purchasing decision; each has advantages and disadvantages. Let’s see how to mount a projector on the ceiling.
Step 1: Selection of Your Projector Screen Placement

In the projector screen placement, firstly, it is entirely up to you to determine where you are interested in keeping the projector screen and the projector.
Check enough throw space between the projector’s lens and the screen. Throw distance informs you of the maximum distance your projector will throw from the screen and still produce a focused image.
The above formula can determine how much the lens should be above or below the screen’s centre. The distance of lens above/below centre of screen is total height of screen multiplied by the percentage of offset.
Remember! If your projector features a horizontal lens shift, you may relocate the projector mount to the left or right of the central line rather than keeping it exactly where it is.
Step 2: Fix the Mount With Your Projector

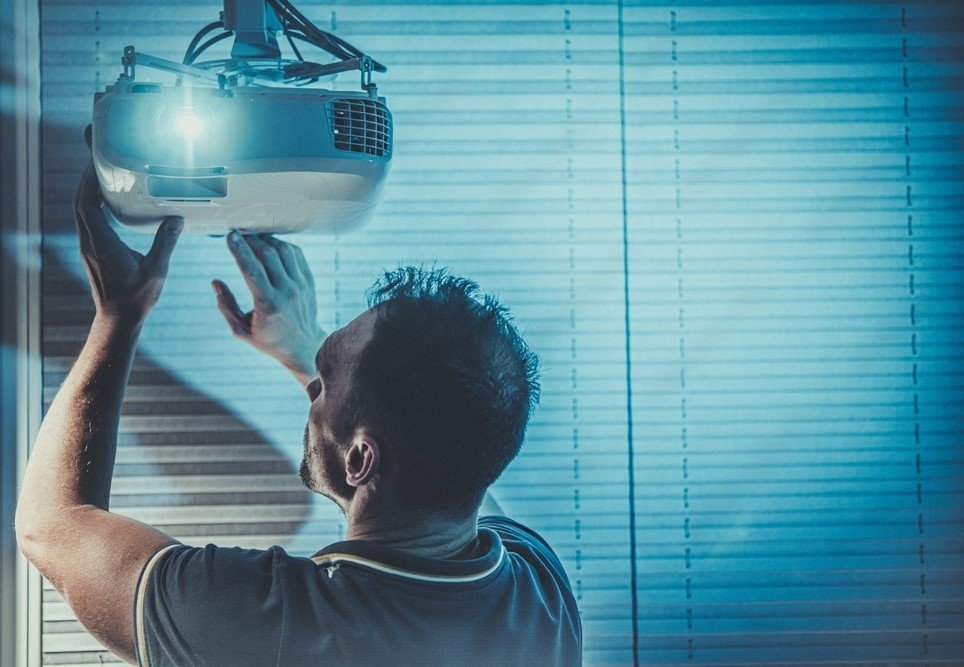
Hold a projector and tilt it upside down. Do not fear; projectors can be set inverted. In following the directions with the mount, lightly secure the mounting bracket.
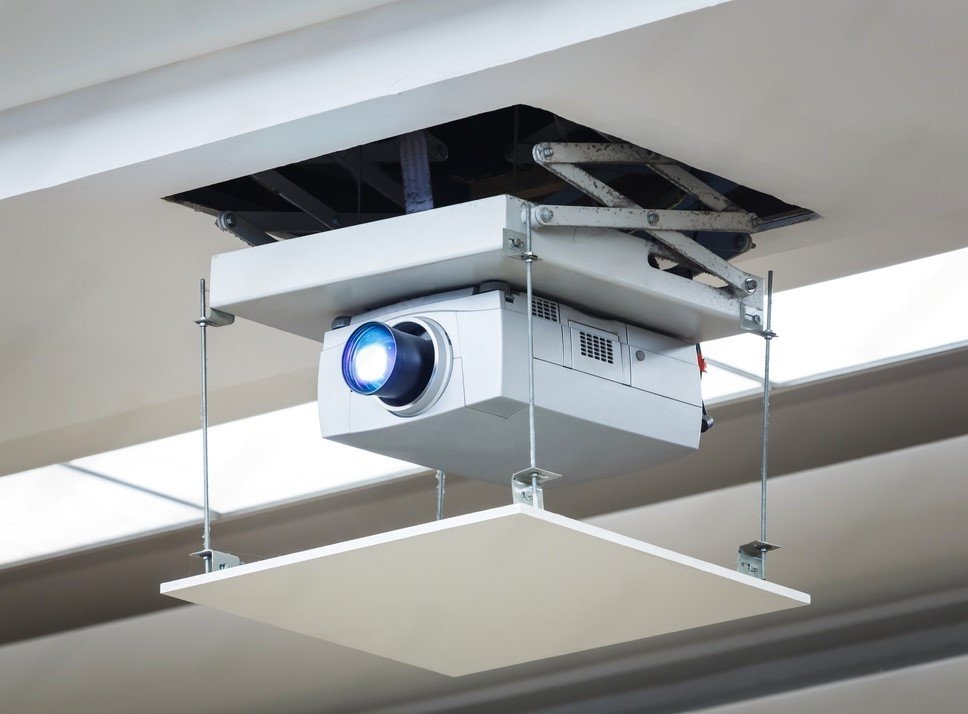
Place the bracket so that it is straight to the lens. Your mount can be affixed to the roof directly. You can use an extension of your desired length that joins with a ceiling plate.
After you’re satisfied with the projector’s position, tightly attach the bracket. After installing the mounting bracket, consider where it is on the projector and make improvements.
Ensure it is in the centre line of the projector screen and is not close enough to any walls. In this step, you can easily attach the mount to your projector.
Step 3: Connect the Bracket Mount to the Ceiling

Apply the directions on the projector and mount package to attach the mount to the projector. Make sure the mounting plate is aligned with the projector after being mounted.
Moreover, ensure the mount is securely fastened before mounting the projector to the ceiling. Specify the exact spots of your connection to confirm your mounting bracket can easily positioned along a ceiling frame.
Next, using a drill, you should make a test hole for each screw. You should follow the bracket’s instructions and utilise the proper screws in the correct number.
Move it slightly to verify whether it is firmly attached to the ceiling. Carefully connect the projector to the bracket and confirm it is properly positioned.
Step 4: Wiring Your Projector to Set up
When you’ve fitted wiring and an electrical outlet next to the projector in your ceiling, you only need to plug it in to start and enjoy using the projection screen.
There may be a need for a power cord extension. You’ll need to run an HDMI wire from your projector hung on the ceiling to your media player or home entertainment receiver.
Consider how long the wires must be, but leave extra length. You may hide the wires via elegant trunking. If you need to run more than 20 feet of HDMI cable, You need a spare HDMI cable.
Step 5: Adjust Your Ceiling Projector

In the final step, you must confirm that the projected image matches the projection screen while your ceiling-mounted projectors have been hooked up.
Switch on the projector, then use the instructions to set lenses, zooming capability, or autofocus for the right settings.
Furthermore, adjust the projector’s contrast, brightness, and color to the proper levels following the guide. Verify that the picture is as straightforward as it can be.
You have surely reduced your stress and time by doing fine-tuning. Moreover, the total time needed to set up fluctuates on what sort of projector you have.
Exactly how much do projector mounts cost:
The price of a projector mount can range from $20 for a simple mount to $700 for a complete mounting kit. Costing up to $3,750, some motorized projector lifts.
The quality of the mount, the amount of weight it can support, and how changeable the mount is what determines this significant price difference.
You should budget between $150 and $300 for your mount when buying a projector for your home theater. Smaller portable projectors are the only ones that can use the inexpensive mounting.
Ask yourself how certain you are that a $20 projector mount will hold your new $3,500 projector if you’re tempted to save money by purchasing a less expensive projector mount for your home theater.
Trouble You Can Face While Mount on a Ceiling Projector:
Both a power source and a media player connected to the projector are required for it to turn on and display material. The issue is that most homes lack a power source where the projector will be mounted on the ceiling.
Additionally, you won’t want to tear out floors or drill holes in your ceiling to run the HDMI cables and power cables if you’re making your own DIY cinema room.
You can conceal the cables quite easily with some artistic connection and some spatial awareness. You can think about using a shelf at the back of the room if you don’t want to put your projector on the ceiling.
Frequently Asked Questions
Q. What Are The Advantages Of Mounting A Projector On The Ceiling?
There are many advantages; some of them are the projector can be kept out of the way with ceiling mounts, and most people like to choose them. When using the project, people can easily walk around it without blocking the source of light.
Q. How Much Do Projector Mounts Cost?
A projector mount may range from $20 for a simple mount to $700 for a complete mounting kit. Costing up to $3,750, some motorized projector lifts. The significant price variation is determined by the quality, how much weight it can support and how adaptable the mount is.
Q. How High Should I Mount My Projector Screen From The Floor?
In an area with a level floor and several rows of seats, the bottom of the screen should be approximately 40–48 inches above the ground level. Always ensure that the lowest portion of the screen is visible from every seat before mounting it, and look for any barriers.
Q. How do you drill a hole in the ceiling without a drill?
Using a nail or an awl and hammering it into the material is the best method for drilling a hole without a drill. Then, utilize the hole as intended after removing the awl or nail from the material.
Q. What is the purpose of ceiling light projector?
A ceiling light projector casts a vertically oriented, focused beam of light onto the base of a cloud. The elevation angle between the lit area on the cloud, the observer, and the projector is measured using a clinometer at a specified distance from the projector to calculate the height of the cloud base.
Q. How high should the projector be?
Every movie projector and home theater setup will differ in the height of the projector; we advise starting somewhere between 28 and 38 inches above the ground and modifying the complete setup to your liking.
Conclusion
You can immediately carry out the abovementioned steps to mount your projector to the ceiling. The right location for your projector must first be chosen. Use the formula mentioned to establish where the projector lens should be mounted. You may effortlessly watch your favourite movies without any interruptions, even if somebody were to stroll through the projector screen doesn’t effect the image.

